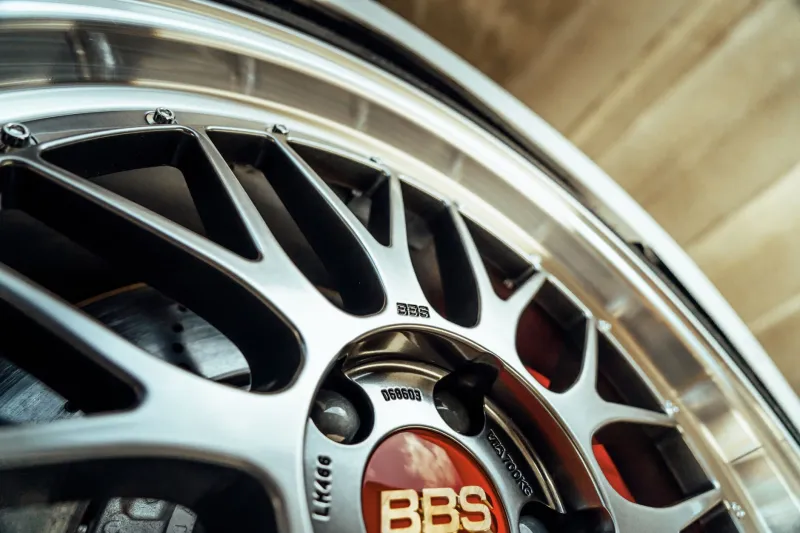
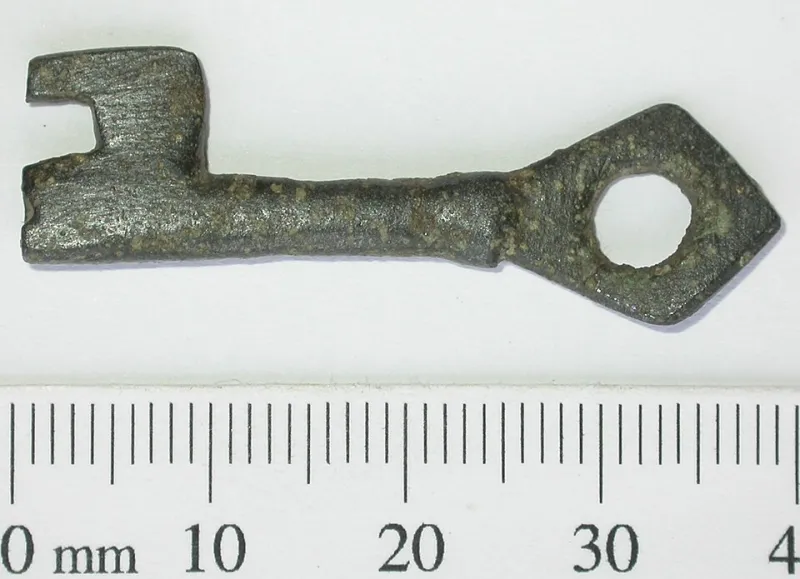
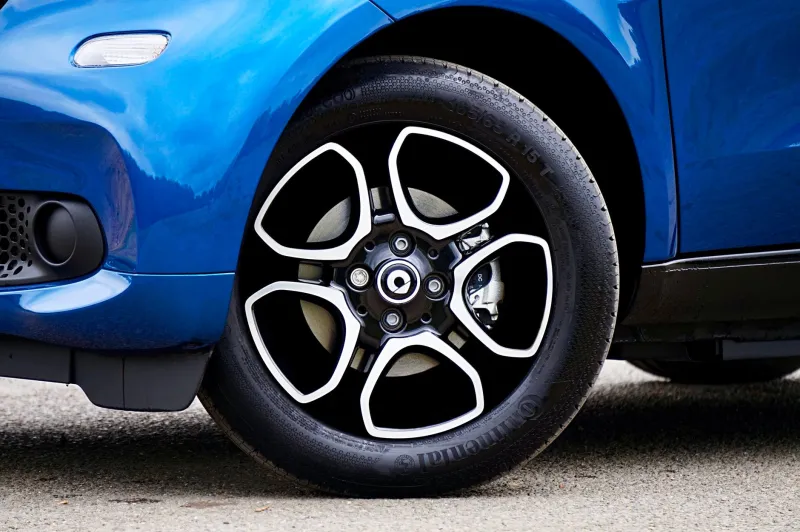
Stuck Fast: Freeing a Seized Locking Wheel Nut Without Ruining the Alloy
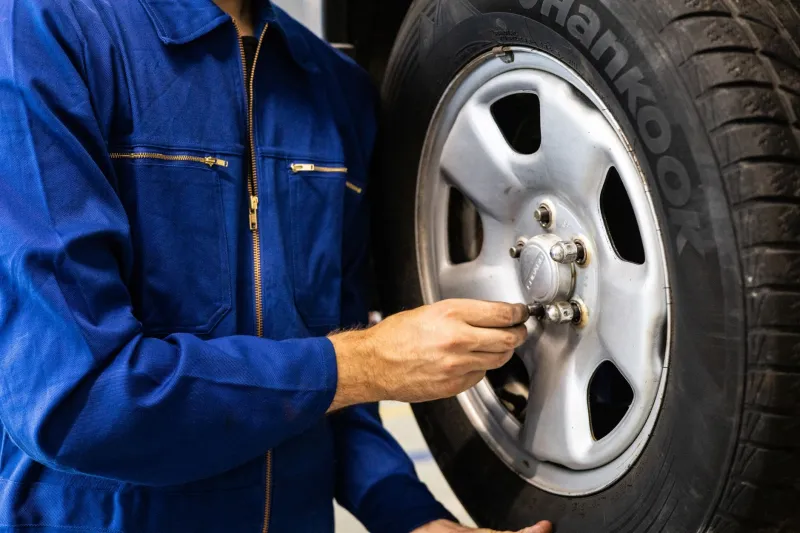
There are few more annoying discoveries on a dark morning than a locking wheel nut key that spins uselessly in the nut. You are not even trying to change a wheel for fun; you have a puncture, a brake job, or a tyre fitting booked, and the security nut has decided to become a permanent fixture. Locking nuts are brilliant at doing their job until they are not. Then they become a small, expensive puzzle sitting in the middle of your alloy.
This is not really a tyre story, but it is definitely a wheel story. And on UK cars, especially ones that live near the coast or spend winter splashing through salt and grit, seized locking nuts are a familiar irritation. The good news is that most can be freed without drama. The bad news is that plenty of alloys get damaged by impatience before the nut ever moves.
Why locking nuts seize in the first place
A locking wheel nut is a compromise. It has to be removable with a key, but stubborn enough that a thief with a standard socket gives up. That often means shallow splines, a tapered seat, and a key that relies on a precise fit. Add a few winters of road salt, brake dust, and general Cornish lane grime, and the clearances disappear.
Corrosion is the main culprit. The nut sits in a recess on the alloy, water collects, and the steel nut and aluminium wheel start to have a quiet disagreement. Galvanic corrosion between dissimilar metals does not need much encouragement. Nor does a nut that was hammered on with an impact gun at the last tyre swap. Overtightening stretches threads, crushes the seating face, and makes the key work much harder than it should.
Then there is the key itself. If it has been rattled on with an impact wrench, dropped on the driveway, or used while half-seated, the splines wear. A worn key in a corroded nut is a recipe for a rounded security nut and a very bad mood.
Start with the obvious checks
Before reaching for brute force, clean the recess. A small wire brush, a screwdriver to lift out loose crud, and a blast of compressed air can make the difference between a key that grips and one that chews. Make sure the key is fully seated. It is easy to think it is home when it is sitting a couple of millimetres proud.
Check the key for cracks or worn teeth. Give the nut a sharp tap with a soft mallet through a block of wood, then try the key again. Sometimes a little vibration breaks the corrosion bond. Use a proper breaker bar and keep the socket square to the nut. A long bar with a sloppy angle is how you round splines.
A penetrating fluid such as PlusGas, left to soak, is worth a try. Do not drown the brake disc in it, and give it time rather than expecting an instant miracle. If the nut starts to move, keep the pressure steady. Jerking on the bar is what breaks keys.
The careful removal sequence
If the key still slips, stop before the splines are polished smooth. Try a slight tightening movement first, then reverse. That tiny back-and-forth can crack the corrosion without asking the key to do all the work in one direction.
A manual impact driver can help on some nuts, but only if you can keep the bit perfectly engaged. An impact gun is tempting and occasionally effective, but on a damaged locking nut it can turn a difficult job into a garage job. Heat is another tool that needs respect. A proper induction heater or controlled heat from a garage can help, but a DIY blowtorch near an alloy, brake caliper, or tyre sidewall is a quick way to create a bigger problem.
Do not attack the nut with a chisel. It feels decisive. It also gouges the wheel, damages the seat, and makes the professional removal more expensive.
When the key has already chewed the nut
If the splines are gone, you are into extraction territory. A good garage or mobile tyre fitter will have locking nut removal sockets, reverse-thread extractors, or the experience to hammer on a sacrificial socket without wrecking the wheel face. Some specialists can weld a nut onto the stubborn one and wind it out. That is not a driveway job unless you genuinely know what you are doing.
Drilling is the last resort. It is slow, it creates swarf, and it can easily damage the alloy if the drill wanders. If the nut is recessed, protect the wheel face with tape or a sacrificial washer before anyone starts hammering extraction tools into place. A replacement locking nut is cheap. A refurbished diamond-cut alloy is not.
When to call it a day and ring a garage
Call for help if the key is rounded, the nut is spinning, the alloy is already damaged, or the car is not safe to drive. A mobile tyre fitter may be able to sort it at the kerb, but do not drive on a loose wheel just to save a call-out fee. If the nut is seized on a wheel you need to remove for a puncture repair, recovery is often the cheaper and safer route.
Replacement keys and sensible security
Once the nut is out, sort the key situation properly. Check the boot, the glovebox, and the folder of paperwork for the locking nut code card. A main dealer can often supply a replacement key from the code or the vehicle details. Independent locking nut specialists can also match keys if you send clear photos and proof of ownership. Avoid the cheapest internet key you can find; a poor fit is how you end up back here next winter.
If the old nuts are corroded or the key is worn, consider replacing the full set. Keep the key clean and dry, and make sure it lives somewhere you can actually find it when you are kneeling in the rain. If you change your wheel security setup, it is worth mentioning it to your insurer if it counts as a modification under your policy. Most standard locking nuts are not a problem, but ask rather than assume.
Habits that stop the next nut sticking
Clean the mating face of the wheel and the hub before refitting. Use a torque wrench set to the manufacturer's figure, not a impact gun's best guess. Check the torque after around 30 miles and again when the seasons change. A thin smear of copper grease on the hub face can help stop the wheel bonding to the hub, but do not slather the threads unless the manufacturer specifically allows it, because lubrication changes the torque figure.
Once a year, before the salt arrives, take the locking nuts out, inspect them, and put them back properly. It takes ten minutes and saves a miserable morning. At Tamar Wheels, we would rather you spent that time checking tyre pressures than fighting a security nut in the rain. A locking nut should protect your alloys, not hold them hostage.